

How To Create Custom Category Pages For Your Divi Blog
I love designing custom Divi Layouts for my category pages on my blog. Not only does it make it user-friendly for my readers to access the types of posts they want to read, but it also gives me an opportunity to provide more value to them in creative ways.
Here are some benefits of a Custom Category Page:
It allows your to stay on-brand.
Does your brand include custom category icons? This is a perfect opportunity to use them! Even if you don’t have custom icons, you can always infuse your brand colors or other design elements to keep your category pages on-brand.
It allows you to step up your SEO game.
Create custom headers + category description that include keywords to get a boost on SEO.
It allows you to provide more value to your readers.
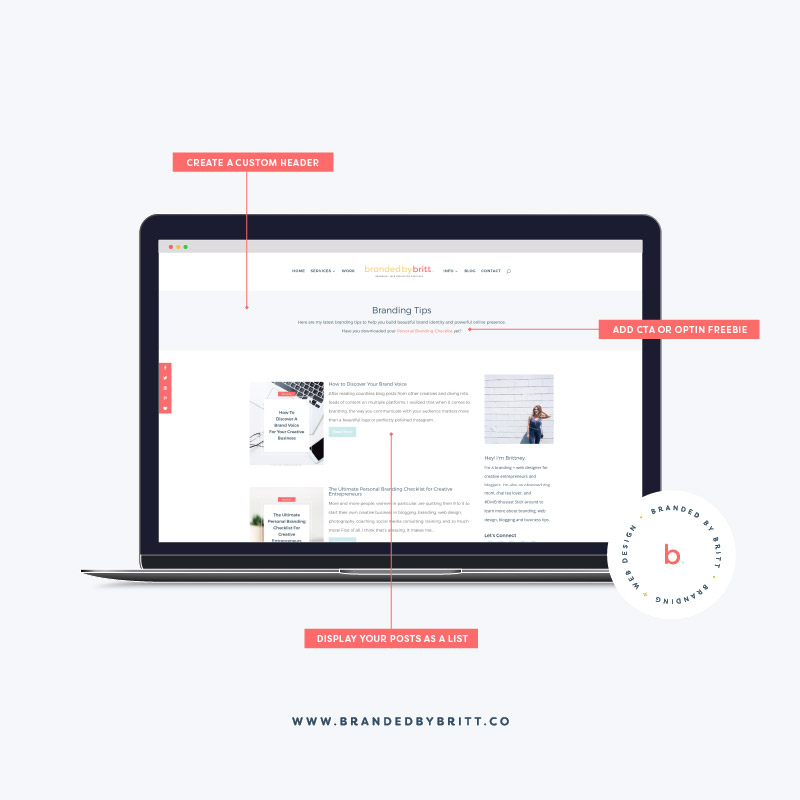
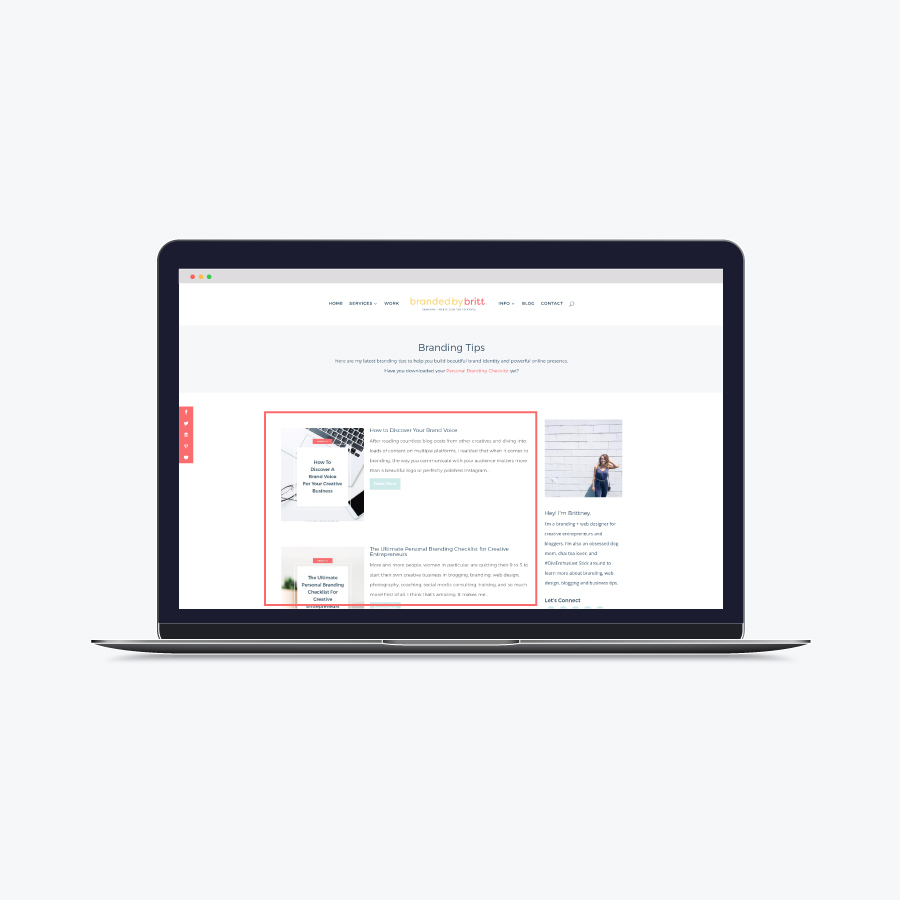
If they’re interested in reading posts related to that topic, then maybe they would be interested in downloading some valuable resources that you’ve created. For example, as a brand designer, I share posts on branding. I also happen to have an awesome branding checklist that I created to help my readers with their personal brand, so I’ve created a custom page that displays all of the posts related to branding as well as a special header that includes a link to the free resource.
Now before we get into this Divi tutorial, it’s important to note that this method will be easy to do if you have narrowed down your categories to about 4-6. If you’re working with any more than that, then this method could be a bit tedious.
Now let’s get started:
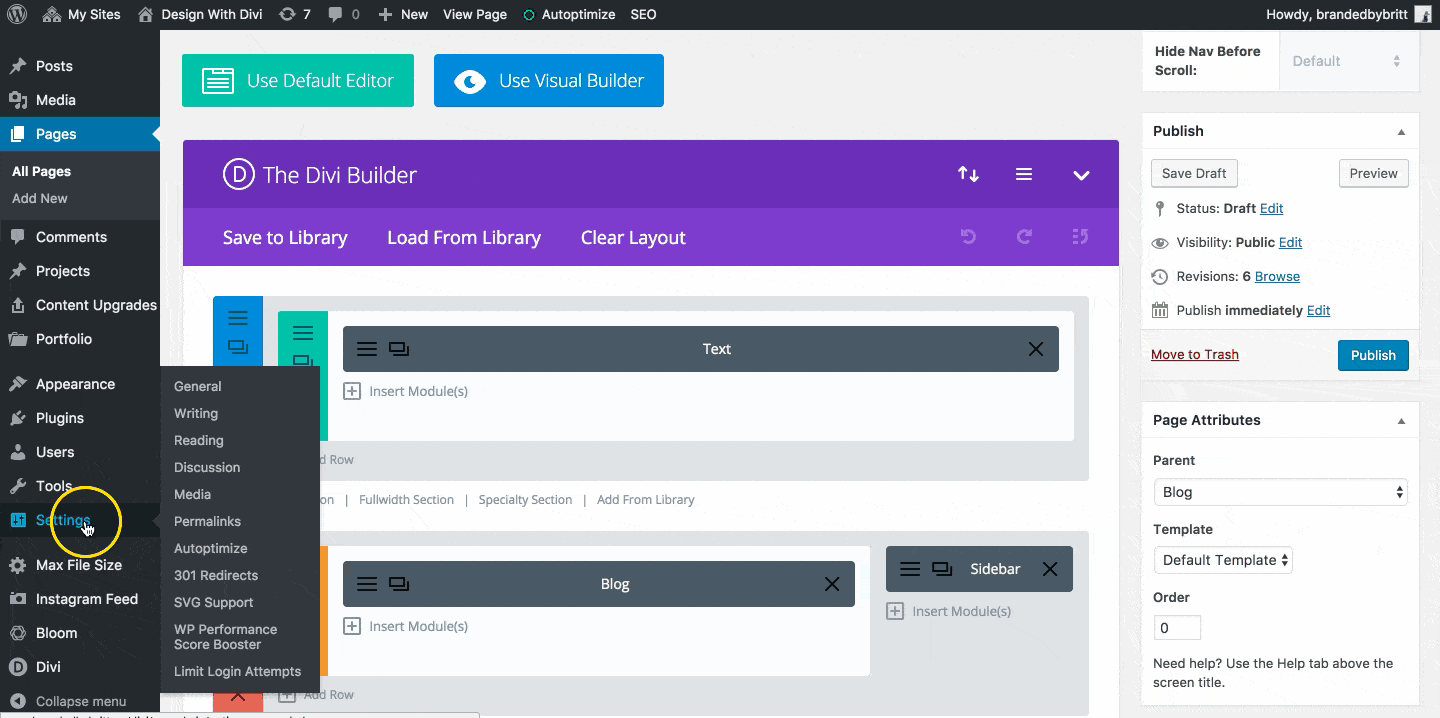
Go to Pages > Add New > Add your Category Name as the Page Title > Enable The Divi Builder.
Go to the Page Attributes section > Set Parent Page to your Blog page.
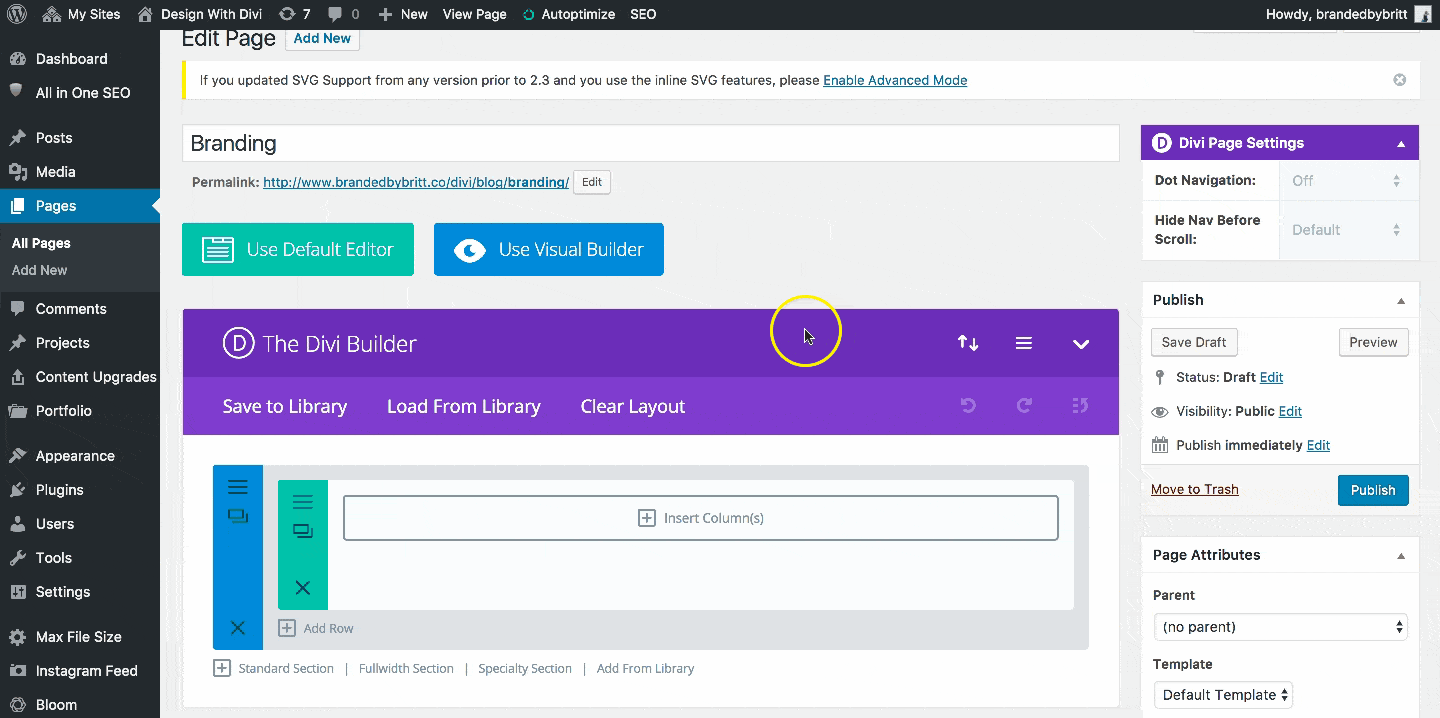
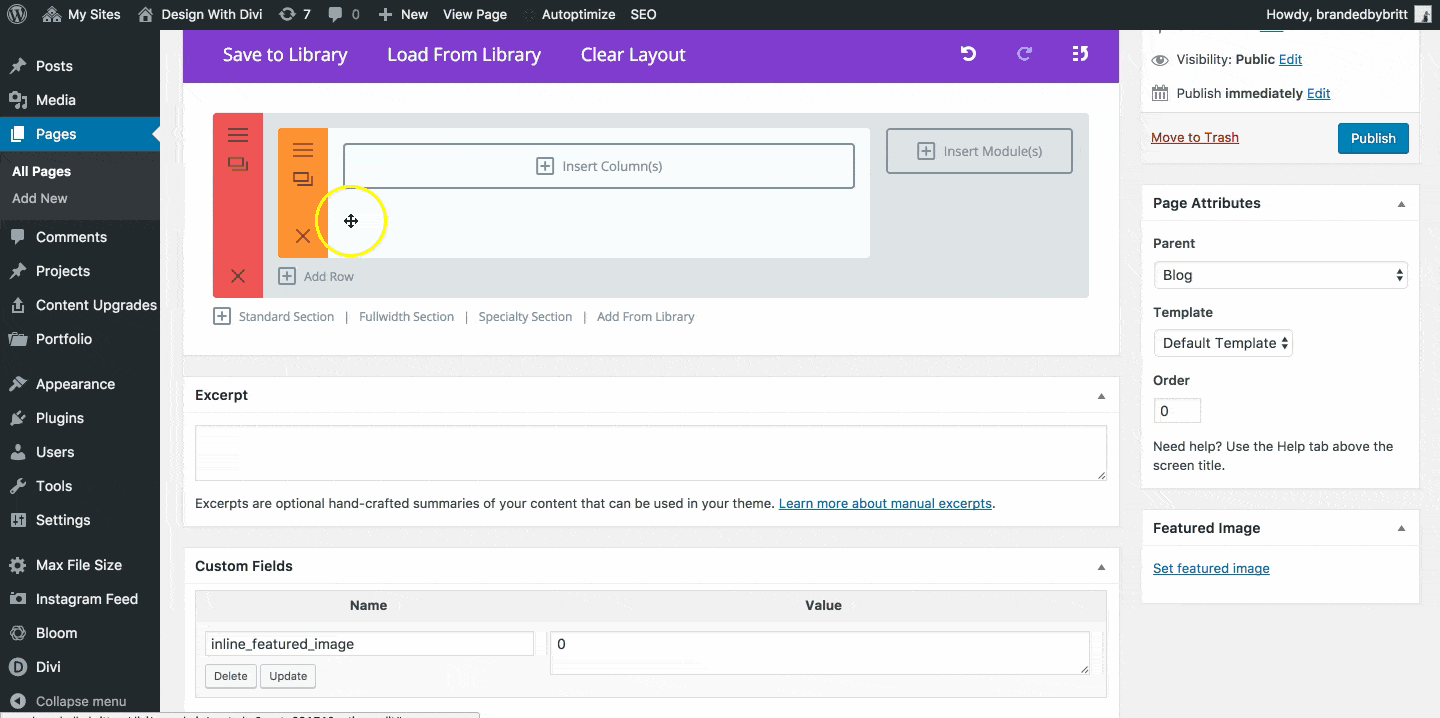
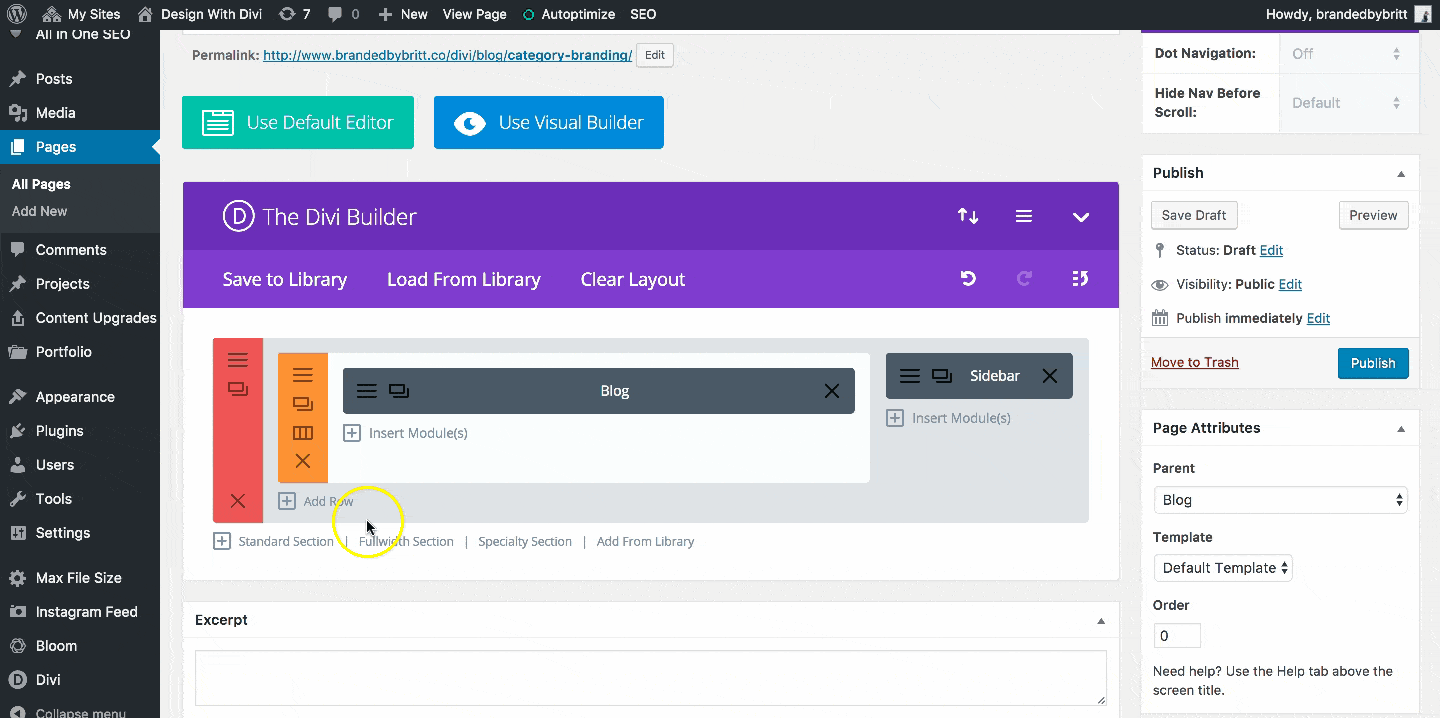
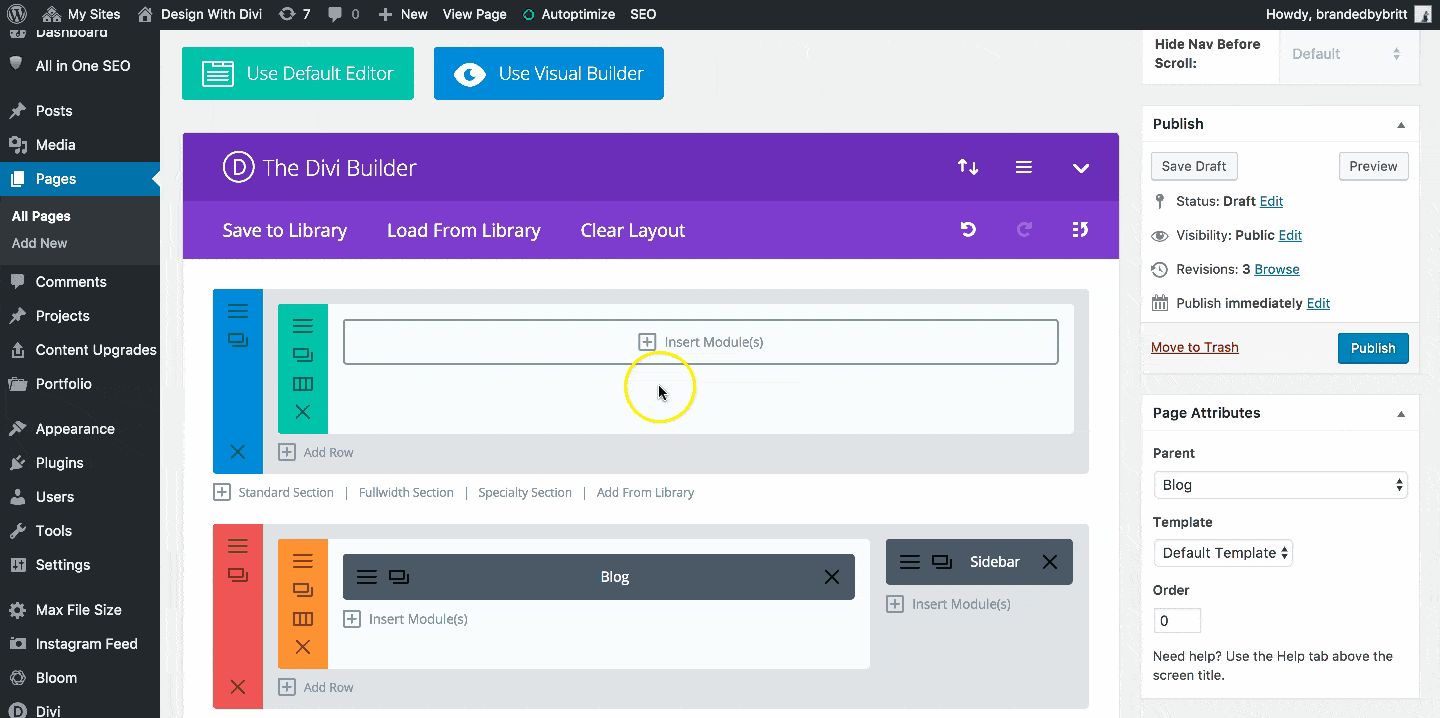
Add a Specialty Section > Select the 3/4 1/4 Layout > Remove Default Section if you don’t plan on using it.
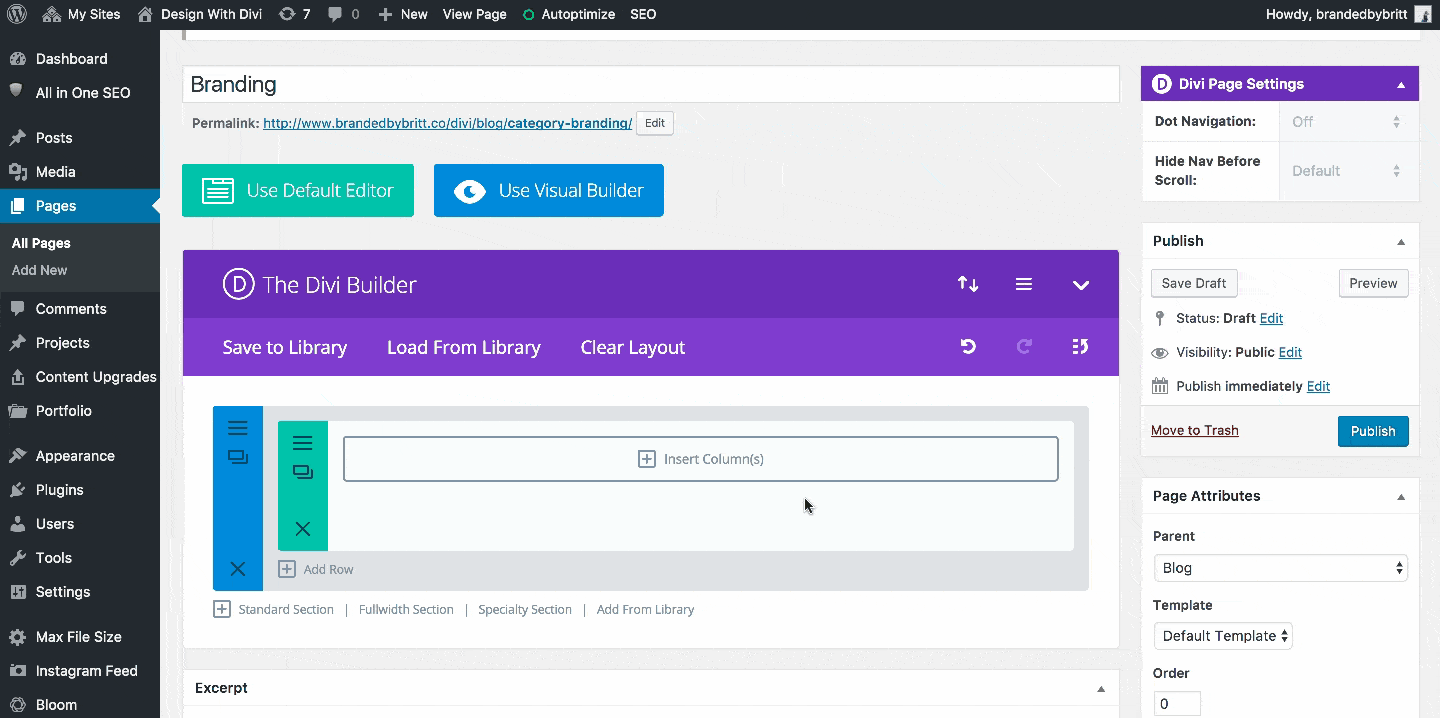
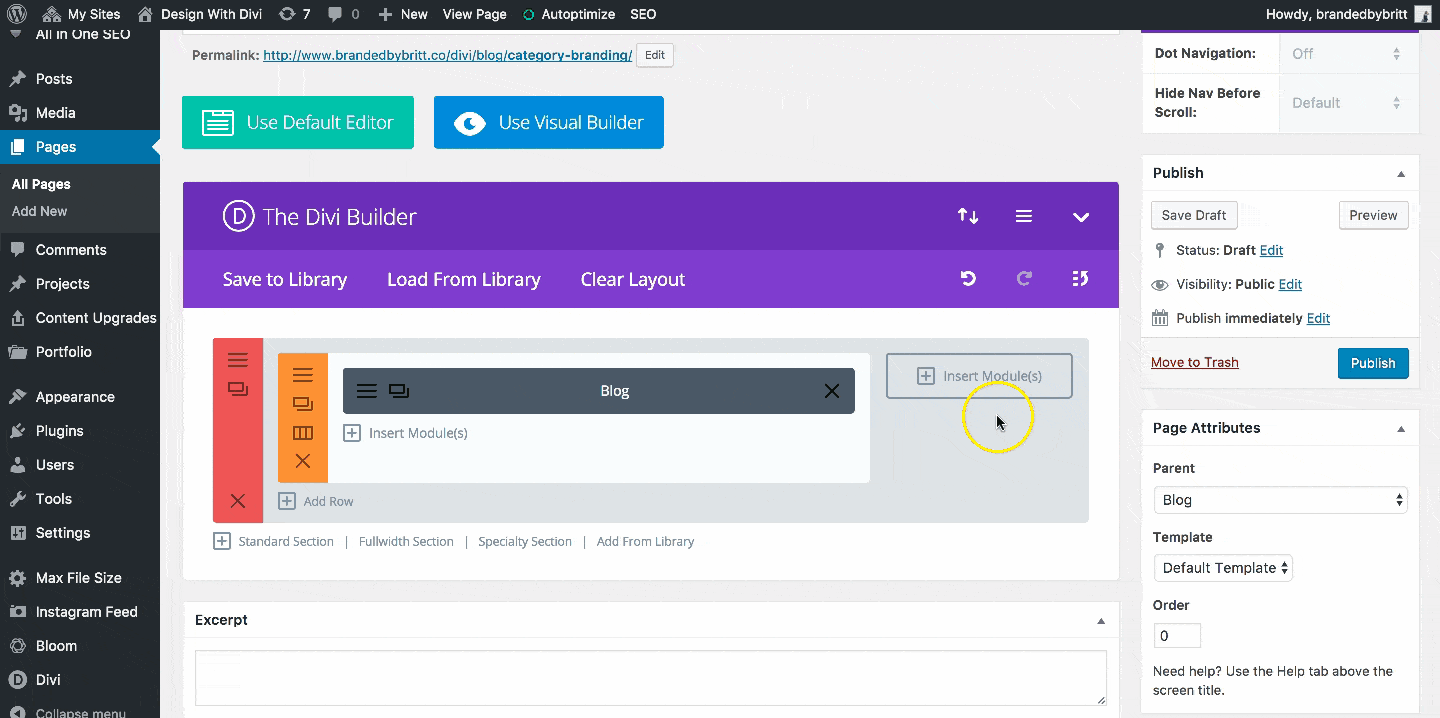
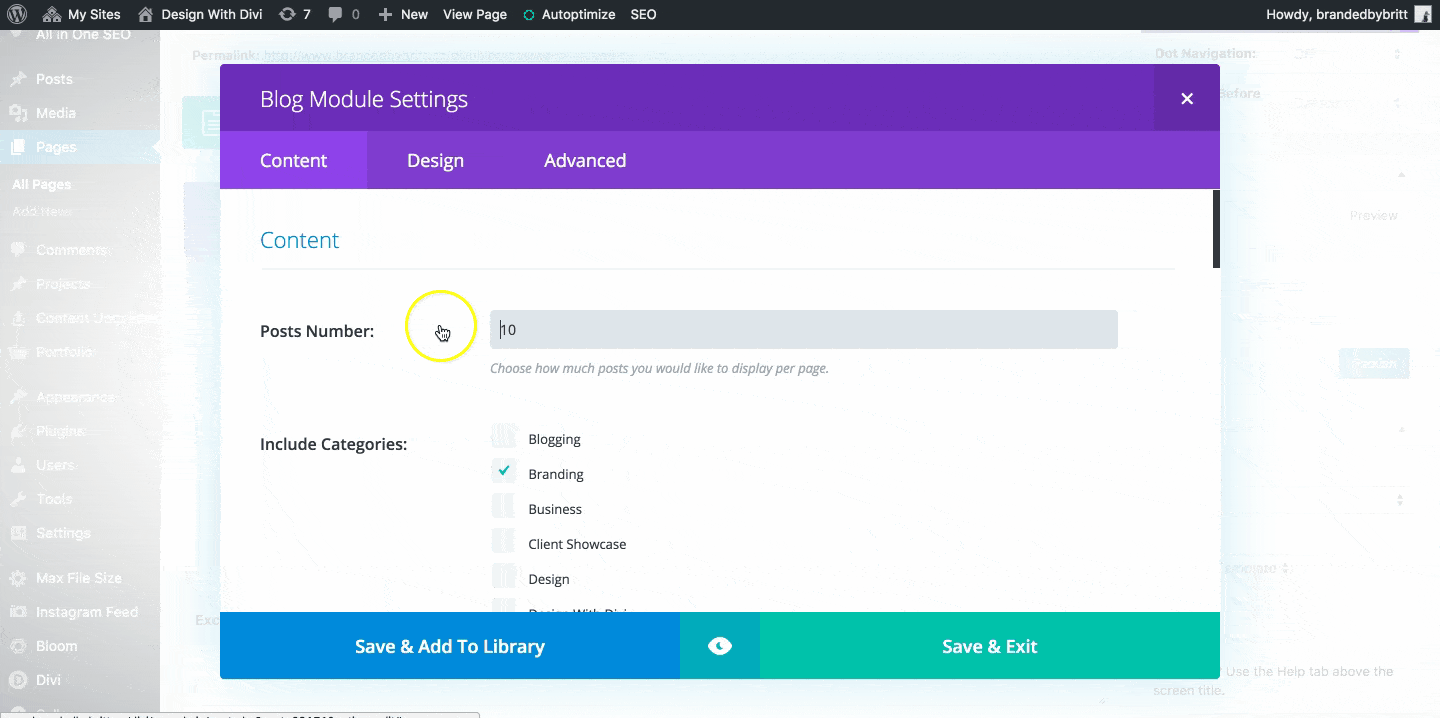
Insert a Single Column > Insert a Blog Module
Within the Blog Module Settings > Select the Category you want to display.
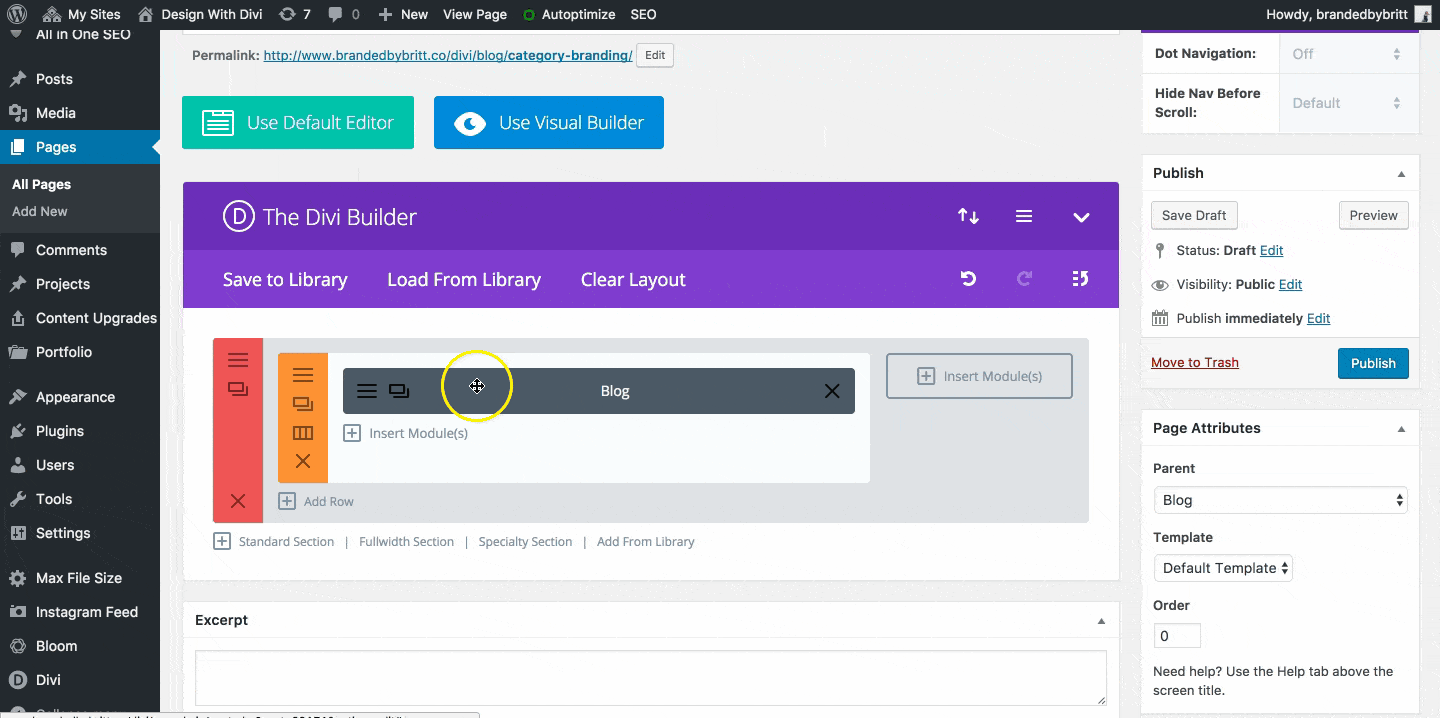
Insert a Sidebar Module > Select your Sidebar Widget.
Now add in your own custom modifications. Here are some examples of what you can do:
Display Posts As List
Go to Blog Settings > Advanced Tab > Add CSS Class “bbb_blog_list” > Grab the CSS code from this post.
Create Your Own Custom Header
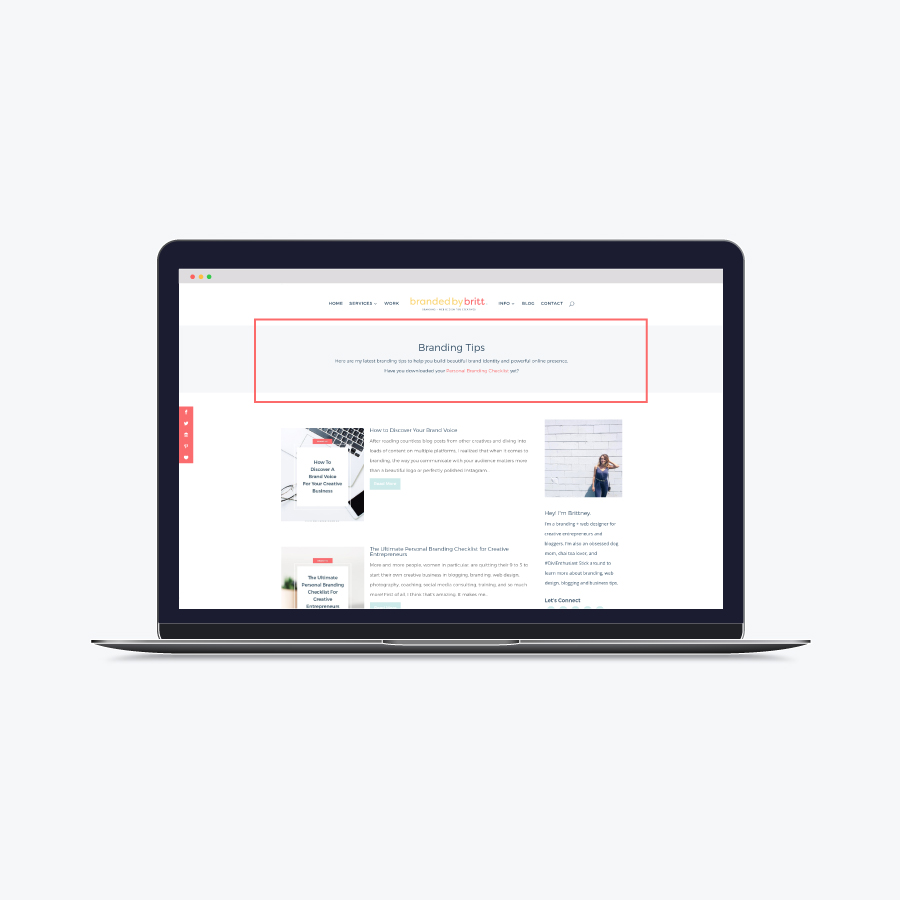
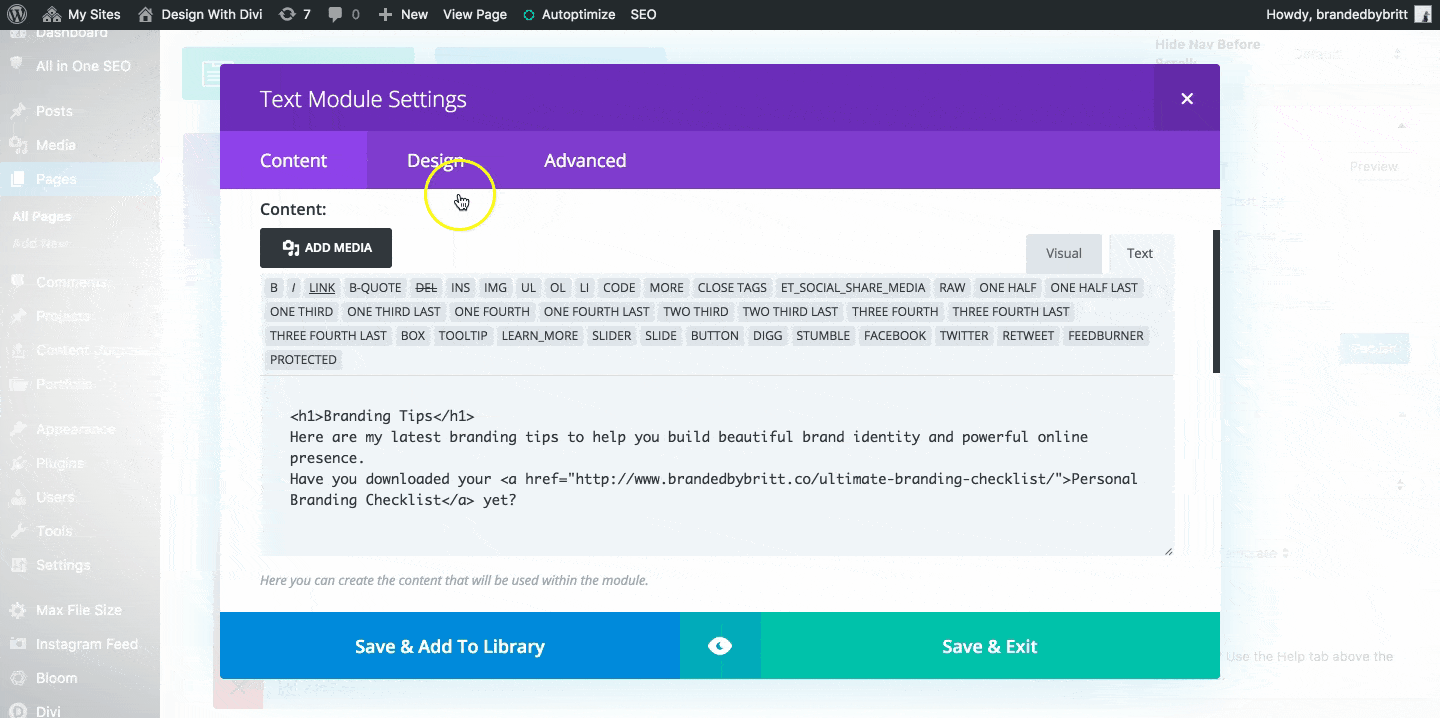
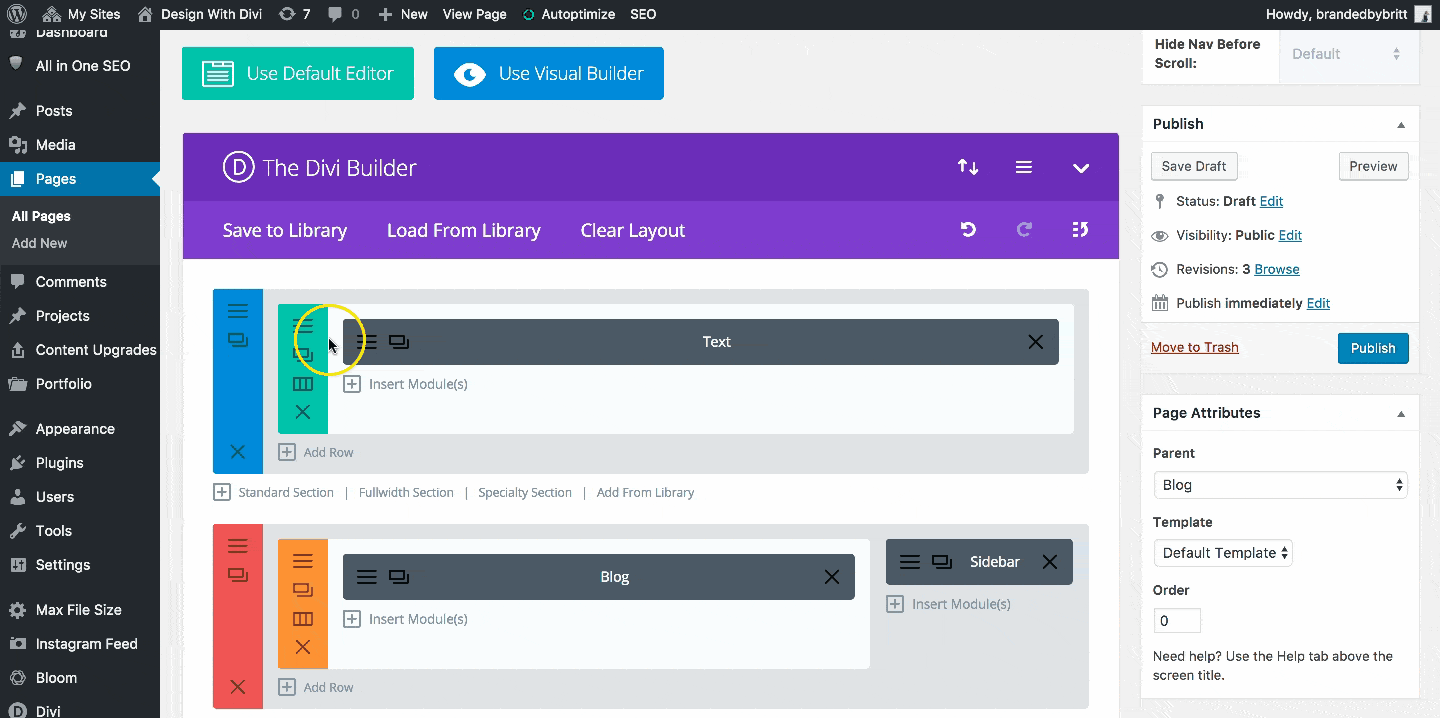
Insert a Standard Section > Select the Single Column > Drag Section to the Top.
Insert a Text Module > Add your own text (i.e. Category Title + Description + Link To Your Freebie)
Go to the Design tab > Apply your own custom settings > Click Save & Exit.
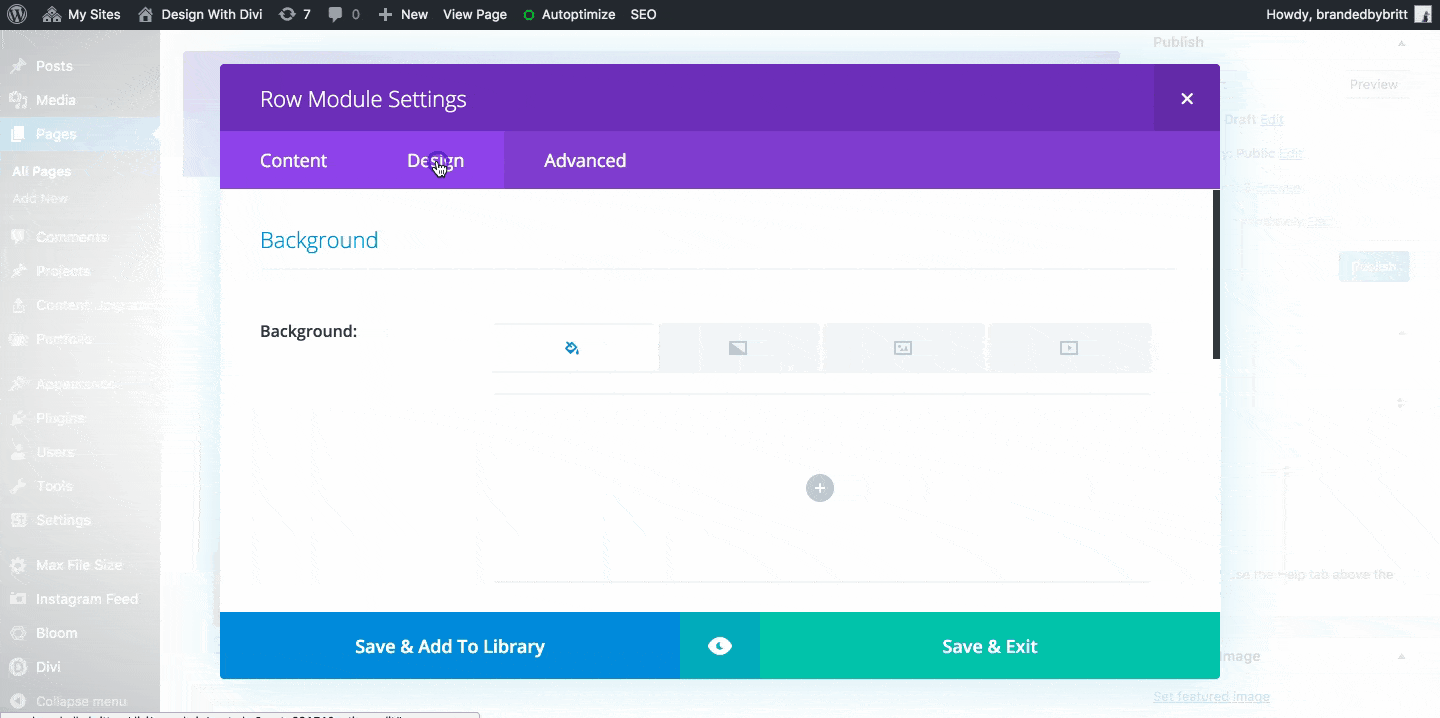
Go to your Row Settings > Add Column Background Color or your own Background Image.
Go to the Design tab > Switch the Make This Row Full Width toggle on > Switch the Custom Gutter Width toggle on > Set Gutter Width to 1 > Add Custom Padding > Click Save & Exit
Don’t forget to Publish your page once you are done adding your custom modifications.
Now it’s time to redirect.
Install + Activate the Simple 301 Redirect plugin > Go to Settings > 301 Redirects > Under Requestenter ONLY the Extension of your Original Category Page URL > Under Destination enter the Full URLof your New Category Page > Click Save Changes > Repeat for each page.
Now anytime users click to view a category, they will be redirected to the new page you just created!